What is composting?
Composting is not a new concept, but has gained a lot of traction lately. It is simple, inexpensive and sustainable.Let’s define it, then: composting is a biologic process in which microorganisms transform food and garden scraps into a natural fertiliser. In other words, if we let organic waste rot carefully, it will decay and decompose, originating a natural, nutrient-rich fertiliser. This process contributes to improving the soil – both at nutritional and structural levels –, increasing plant endurance, reducing the resurgence and spread of diseases and vermin, and to avoiding the use of chemical fertilisers.
Making use of that natural fertiliser will certainly grant you the best garden of the neighbourhood.
What kinds of composting are there?
The compost – technically designated as humus – that results from this organic waste transformation can be produced by two processes (get ready for somewhat pompous, but not complex terms):
-
The biological process itself
That is, by the action of microorganisms that help the residues break apart. This process is slower than the next one;
-
The vermicomposting (“vermi” as in worms)
This process uses the precious help of earthworms to speed up the process. These lovely friends eat daily the equivalent of their weight (or more!) in organic matter, which just makes everything much faster. It is considered a very good option for those who don’t have a lot of outdoor space or live in a flat.
What to do, and what to avoid when composting at home
Although the process is quite easy, there are some things to be careful about.
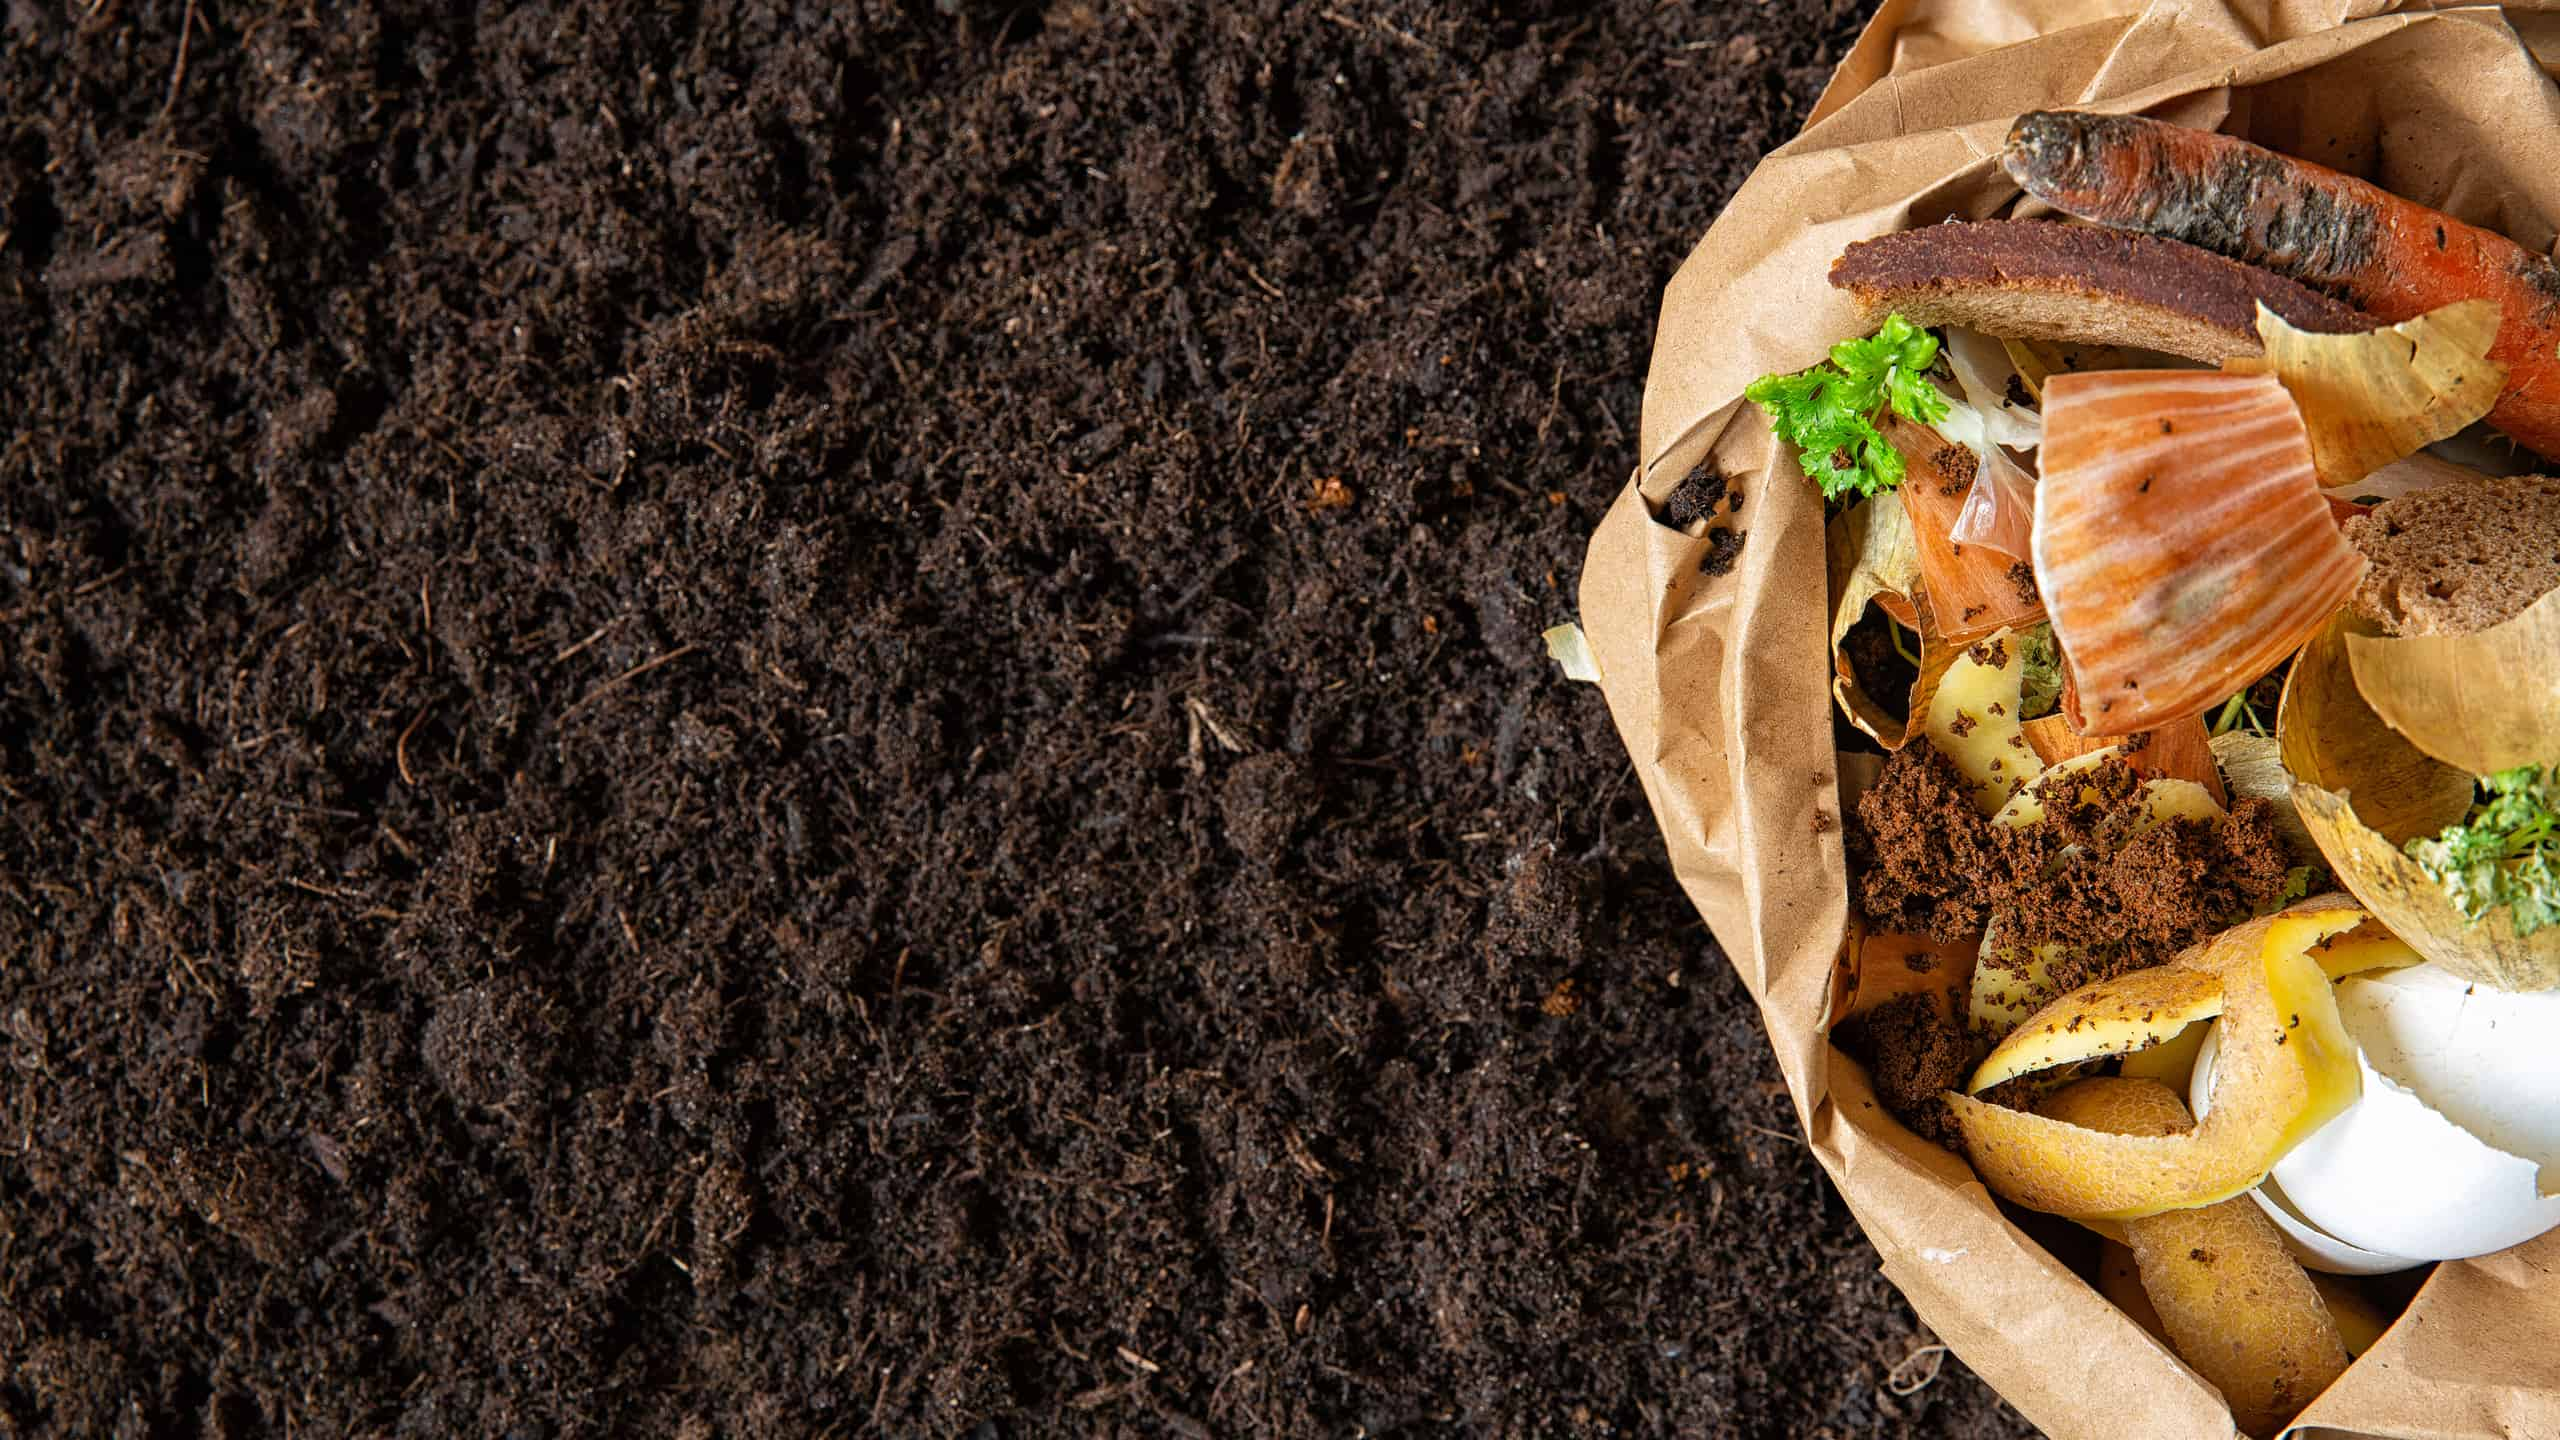
The waste to be composted are divided into two categories: the greens – generally moister and nitrogen-rich – and the browns – dry and carbon-rich.
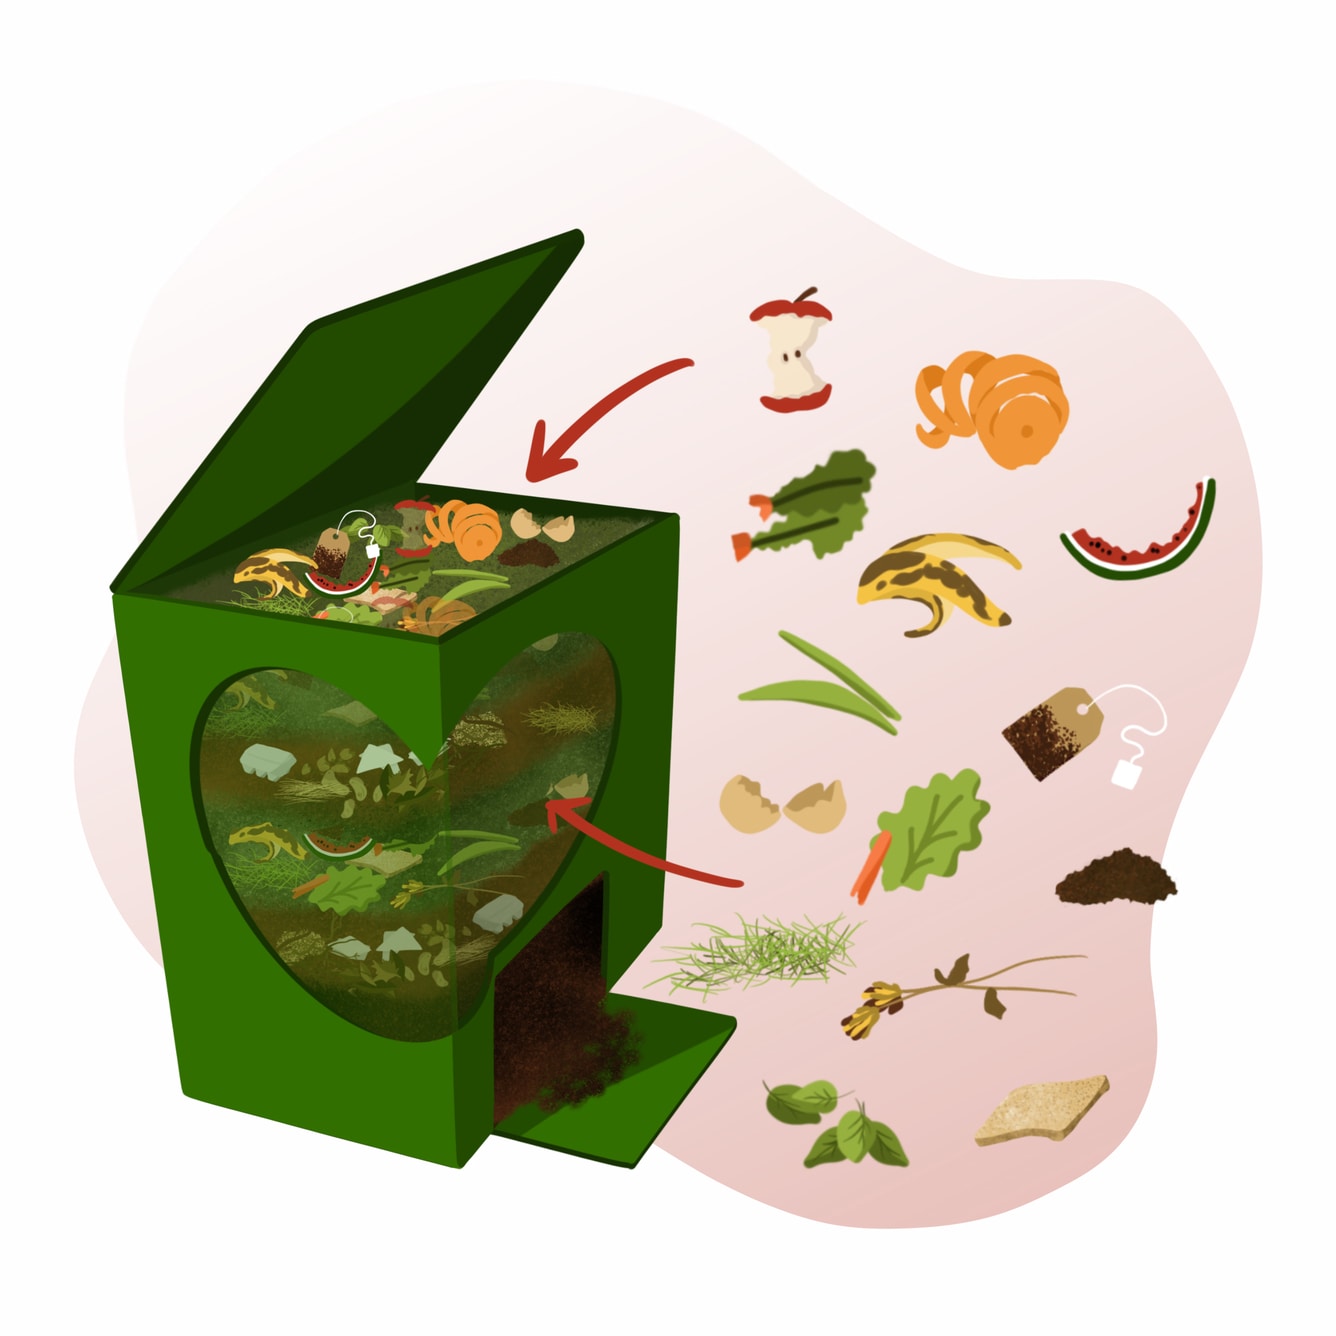
Greens
(Moist and nitrogen-rich)
- Food scraps such as raw vegetable peels
- Vegetables
- Turfgrass cuttings
- Coffee grounds
- Tea leaves of tea bags
- Eggshells
- Plants and flowers
- Bread
- Green leaves
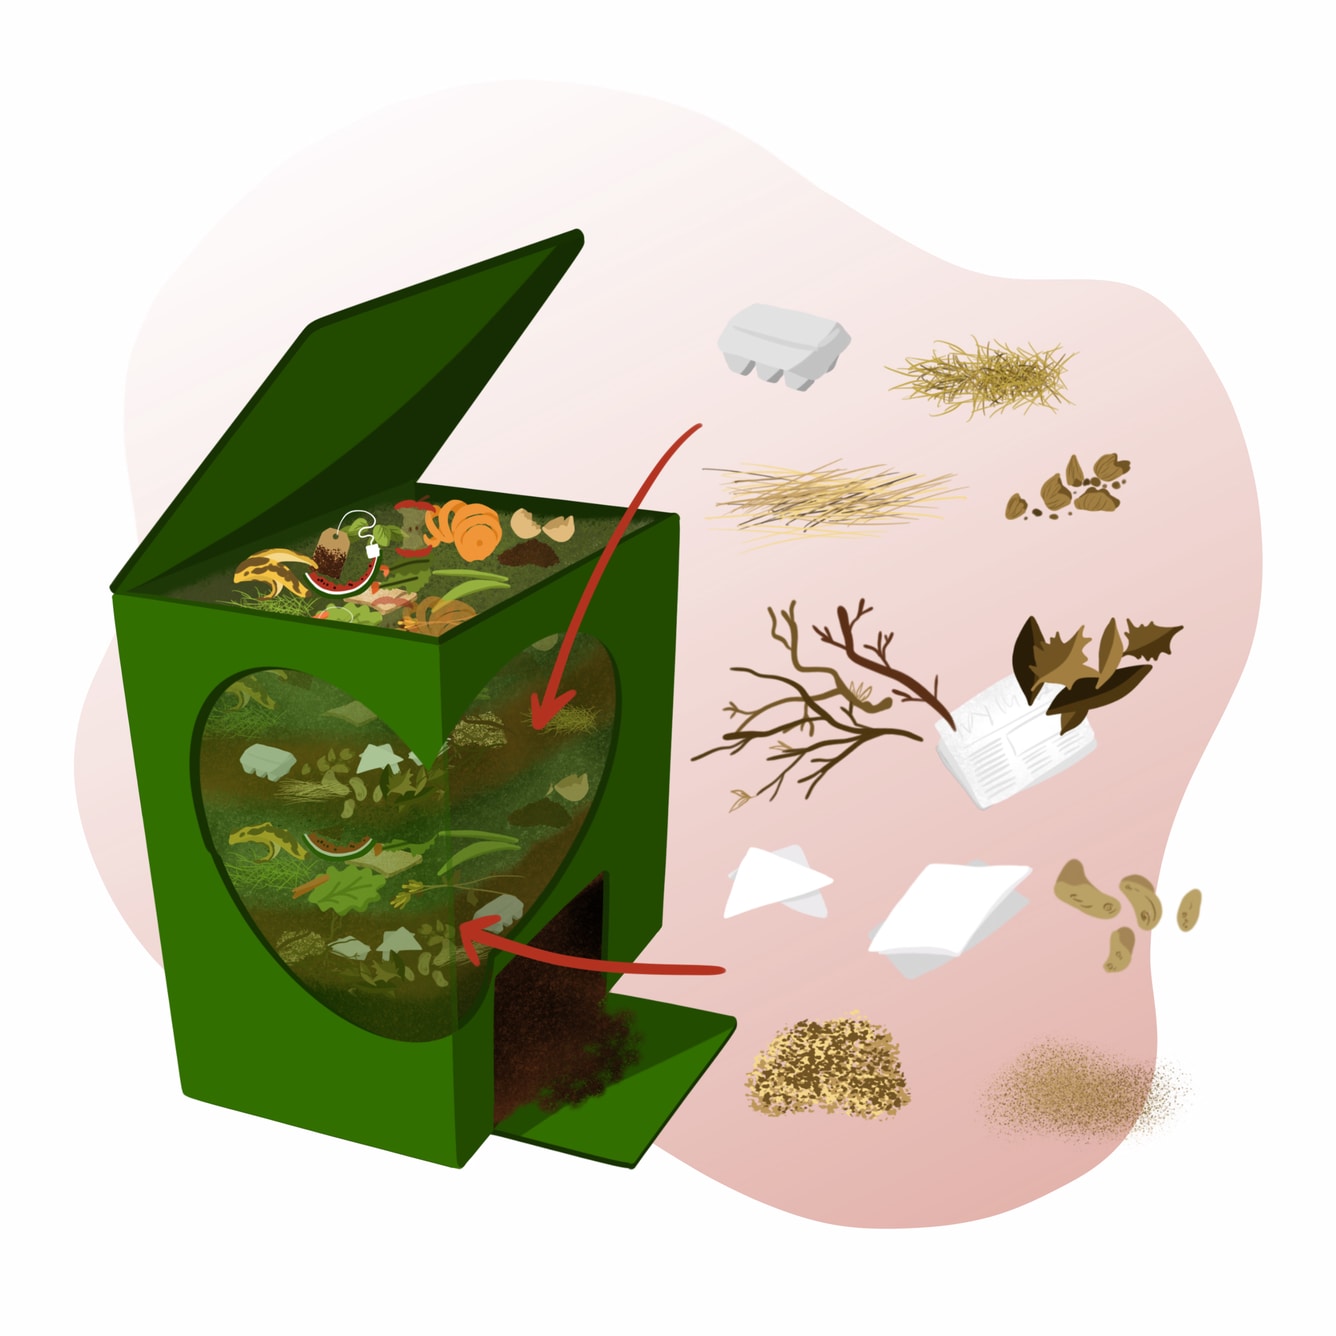
Browns
(Dry and carbon-rich)
- Nuts and nutshells
- Potato peels
- Straw and dry grass clippings
- Pine needles
- Small tree and bush branches
- Wood shavings and sawdust
- Napkins (without grease), paper tissues, egg cartons, match boxes, newspapers, and non-laminated paper
- Dry leaves
But there are as well residues that should not be placed in the compost bin. Food leftovers with meat, fish, bones and dairy must never be included in a compost bin, since they cause bad smell and attract pests (mice, rats, cockroaches, and several other insects) or even bigger animals like dogs, cats, and birds.
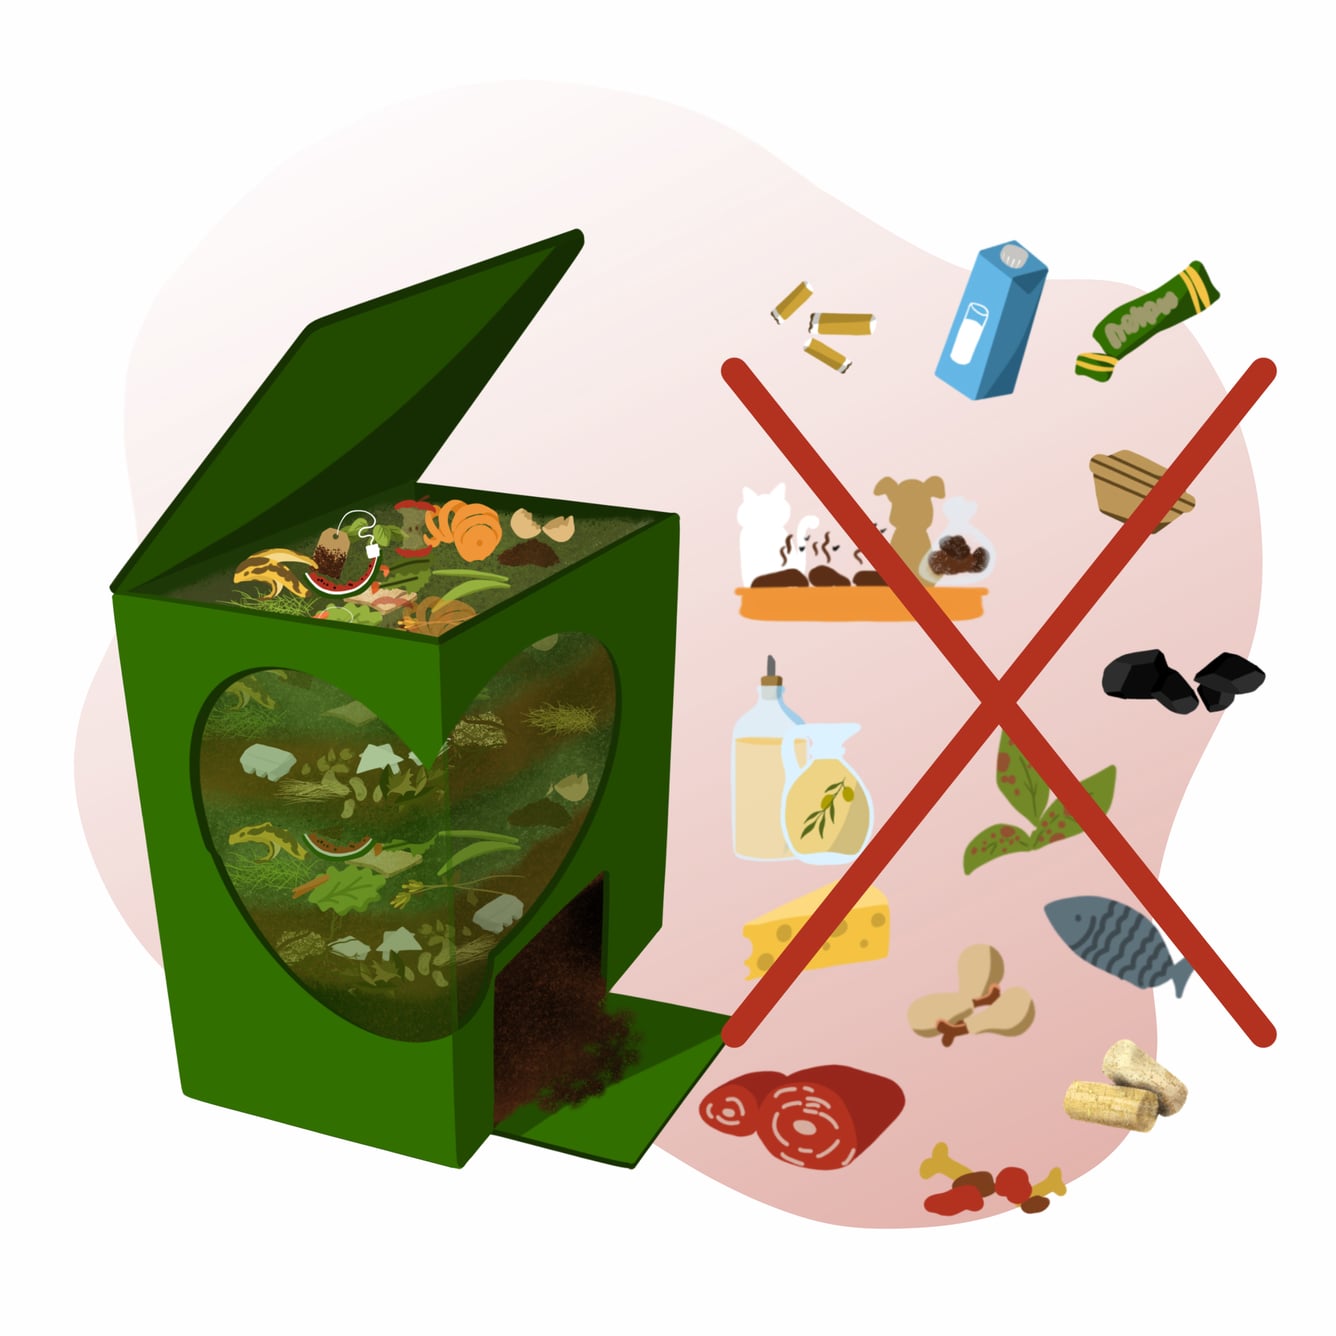
Do not compost
- Meat, fish, and seafood – raw or cooked
- Food leftovers with bones
- Dairy
- Oils and fats
- Cork
- Sick plants, plants with seeds, or plants treated with chemicals
- Coal, ashes, and cigarette buds
- Pet droppings
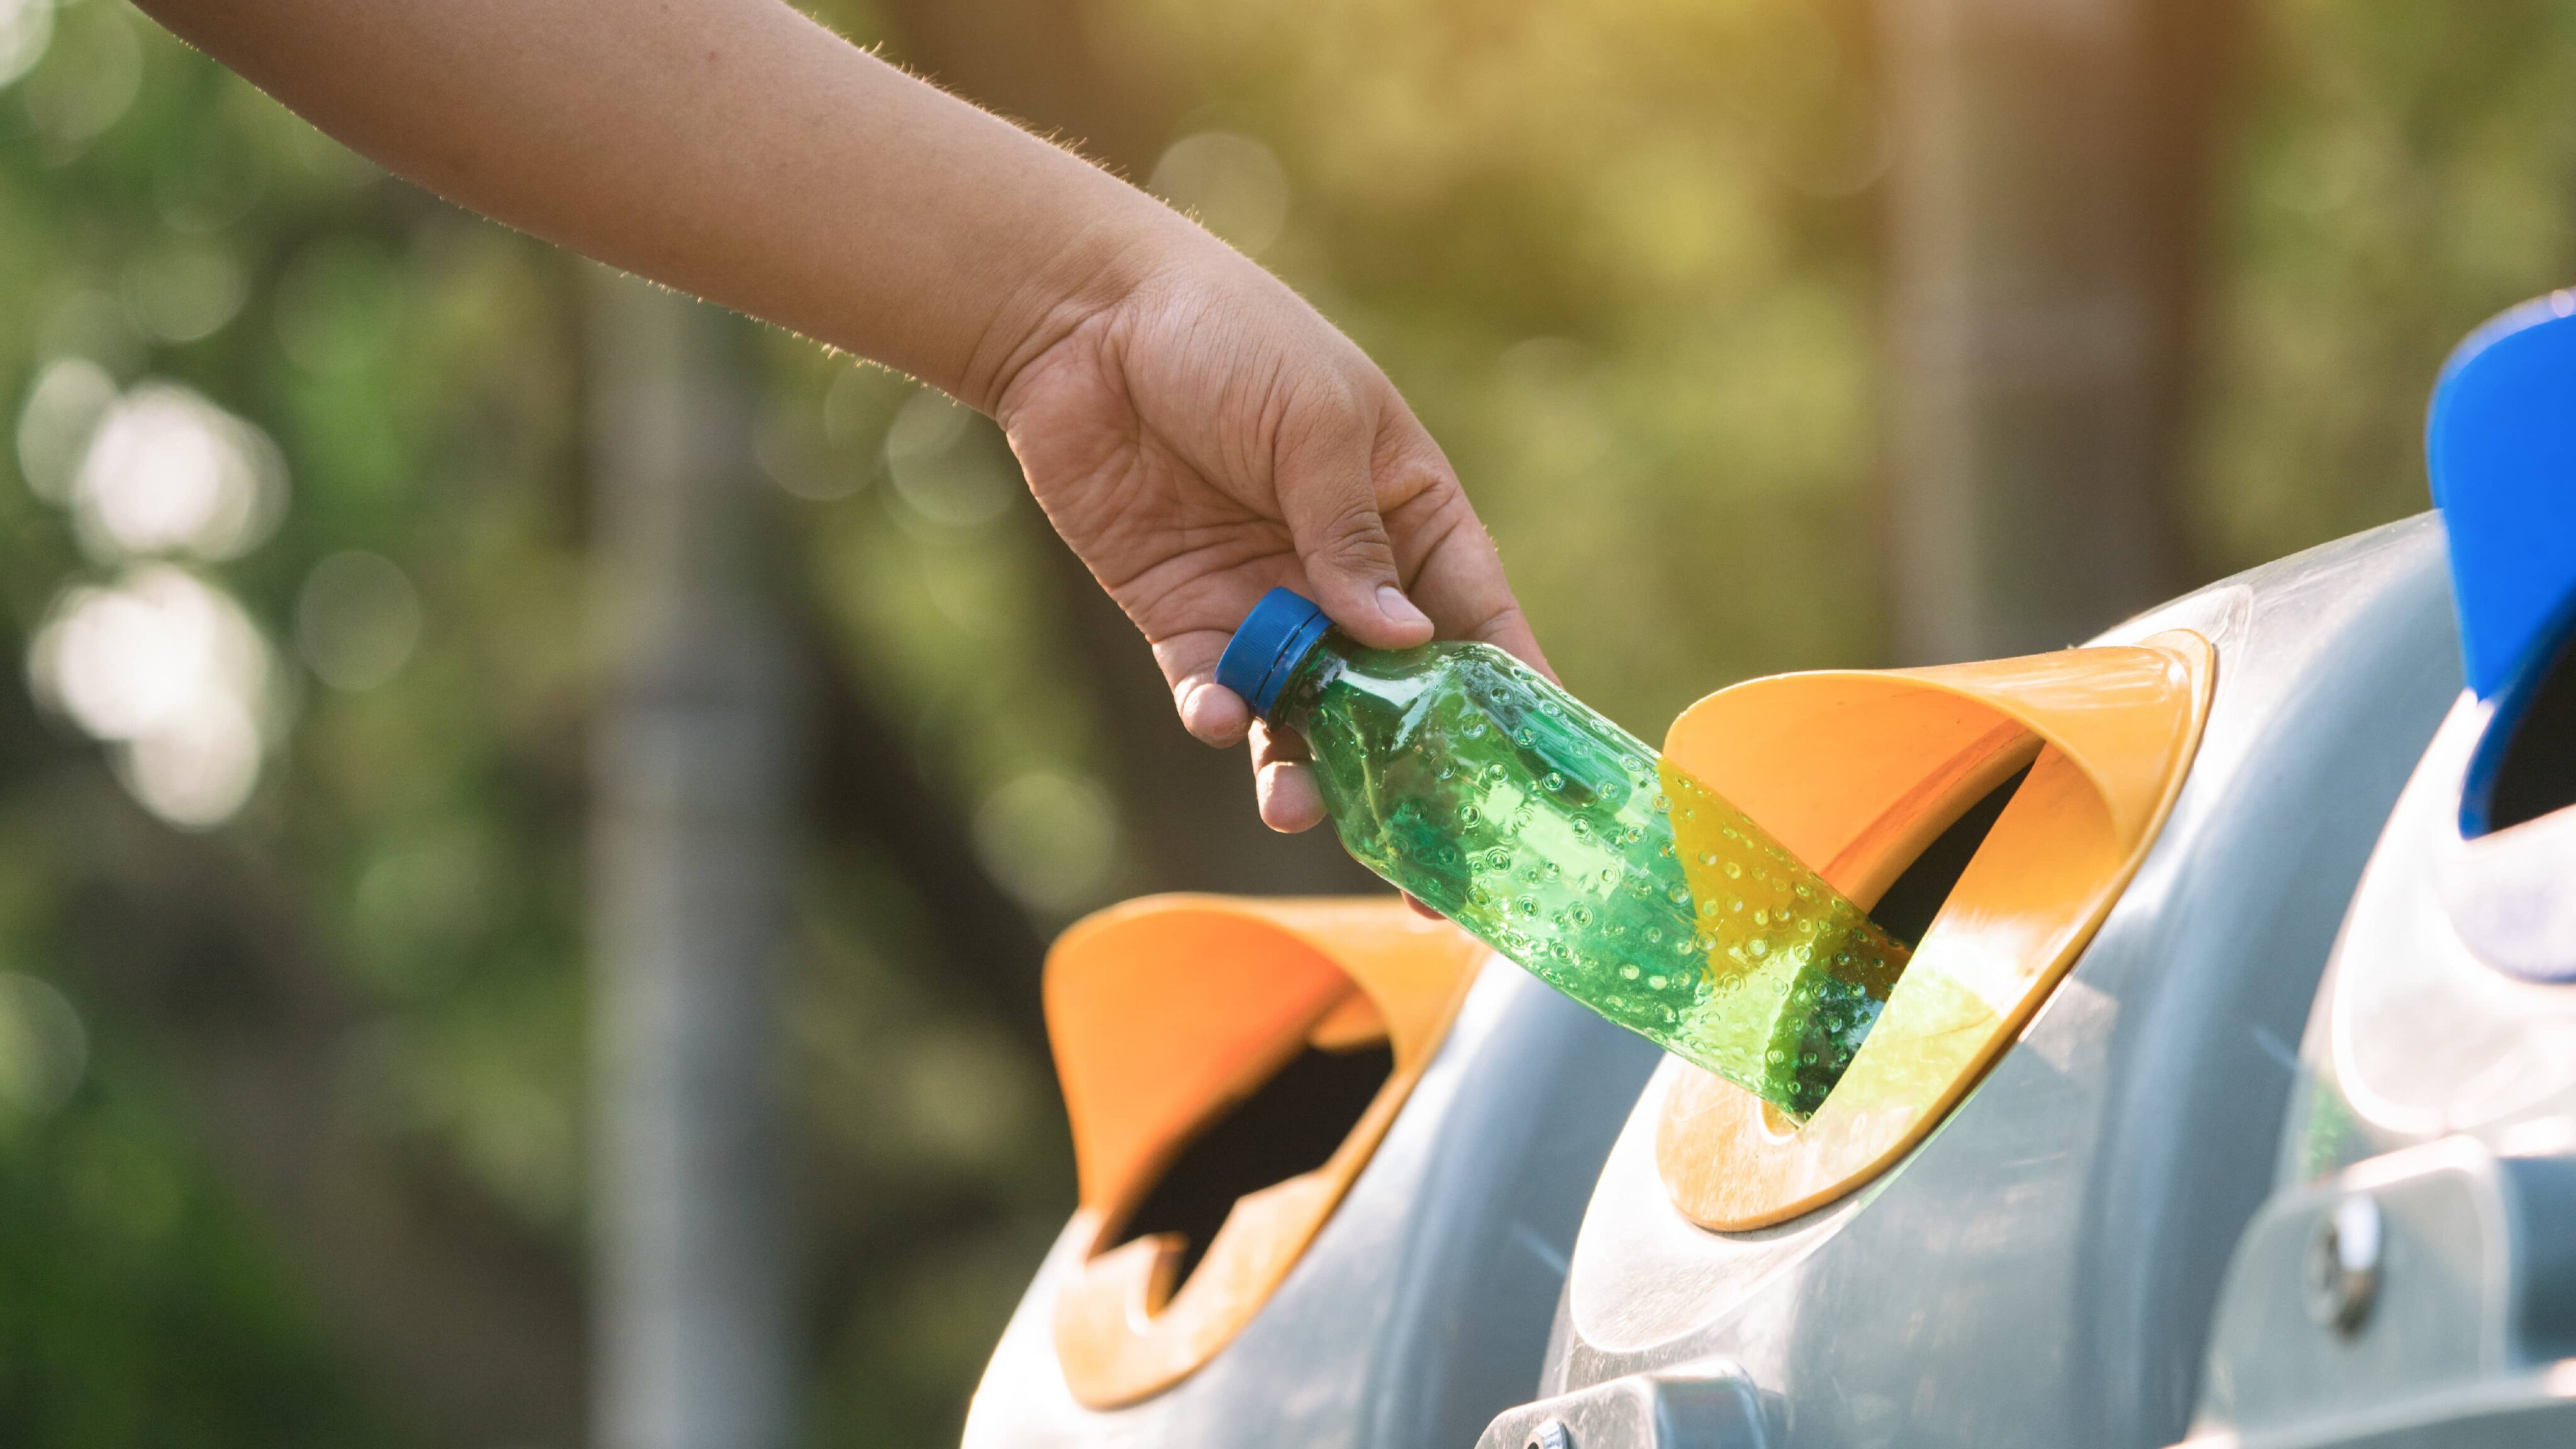
- Non-organic residues (glass, plastic and metal)
Air, moisture, and temperature
These are the three main “ingredients” you need to get successful composting, and all three must be in the right measure.
As such, your compost bin must be well aired and never compressed, the residues must be moist but not wet, and the temperature must be high but not too high (specially if you’re going with vermicomposting, as too high temperatures might kill the worms).
Step-by-step to start composting at home
Now that you are informed, get to work, and create your own compost bin! Give your organic waste a better destiny, and that big pile of dry leaves an actual purpose.
-
Choose your compost bin
You can find compost bins in most Garden & DIY shops. These can be either plastic with perforations on the bottom, or even wooden with a lid and no bottom. Alternatively, you can also build a compost bin yourself with pallets, for example. In case you opt for vermicomposting, the compost bin does not need to be in contact with the soil or even perforated.
-
Choose the right place
Look for the perfect spot to place your compost bin. Choose a spot that’s sheltered from direct sunlight and rain. It must, however, be well aired.
-
Pay attention to airing and draining
Lay some small tree and bush branches at the bottom of your compost bin – without compressing them. This first layer will allow the air to flow and the draining of excessive moisture. You can even use a bottomless bin to allow the residues to be in contact with the soil and, thus, facilitating the draining.
-
Layered residues
Layer your residues starting with a layer of “browns”. The layers must be, depending on the size of your bin, between 5 and 10 cm thick. Do not compress the residues inside the bin.
-
Watch out for the moisture and temperature
If you notice your composting is too dry, add some moisture by lightly watering it. If, on the other hand, you notice it becoming too wet, add more dry leaves and other browns. Measure the temperature periodically to make sure it is high. Use a pitchfork to turn your composting pile over every 7 to 10 days.
How to use compost?
After around six months of composting – depending on the residues you put in your bin and on the method you chose – your pile must have been all broken down to compost. This humus looks like soil, smells like wet soil, is non-toxic and, more importantly, is filled with nutrients which are very important to the soil. In the case of vermicomposting, the whole process will take about two weeks.
You can use the compost as fertiliser to your garden or vegetable patch, or even to add to potted plants. Do you know that mini herb garden? Compost is great for oregano, basil, mint and even for cherry tomatoes!
In a vegetable garden, you should use 2 to 3 kg of compost per sqm. In pots, you should use 1/3 of compost per 2/3 of soil. When using the vermicomposting process, the compost is more concentrated, so you should reduce its quantity. It is possible as well to seize the liquid that forms in certain compost bins, in the proportion of 1/10 of liquid for the remaining water.
Besides the clear benefits for your plants and trees, composting helps decrease the amount of organic residues sent to landfills or to incineration plants, as well as the use of chemical fertilisers. It is a natural process that makes it possible to close the cycle and transform your residues back to soil – where life started.
Oops! My composting has an unpleasant smell! What do I do?
If the conditions of temperature, moisture and airflow inside your bin are ideal, your composting pile should not have an unpleasant smell, like the smell of “rotten”. This smell is produced when there are too many green residues, when the layers are too compressed, when airflow is blocked, or even when the pile is too moist.
In any case, just add more browns – dry leaves and straw, for example – and give it a good turn over with a pitchfork.
Oops! My composting is not in the right temperature range! What do I do?
If the temperature inside your compost bin is too high, that means it lacks greens or it has insufficient draining or airflow. Turn the pile over regularly and add some greens.
If, on the contrary, the temperature is too low, it means your compost bin needs either more residues and layers, or more airflow.
Oops! The process of composting is too slow! What do I do?
Check if the materials are small enough (20/25 cm) and add a bit of soil to activate the process.
What if I don’t have the right conditions to compost?
Not having all the conditions to compost is not a synonymous of waste. You can “donate” your organic residues through the platform ShareWaste, in which you can register and signal your availability to donate or receive organic residues. Several municipalities have also communitarian compost projects that you can use (check with yours).